Ever wanted to turn a simple stone into a magical piece of art? Rock painting is more than a craft. It’s a way to express your creativity and connect with nature. It’s perfect for anyone, whether you’re a busy parent or an art lover looking for something new.
Picture holding a rock and making it into a colorful masterpiece. Rock painting is easy to start with and brings lots of happiness. You can paint anything from cute ladybugs to detailed mandalas, letting your imagination run wild.
This guide will show you everything about rock painting. We’ll cover techniques, supplies, and ideas to make your stones into amazing art. Get ready to explore a world where creativity and nature come together, one painted rock at a time.
Key Takeaways
- Rock painting is a fun, accessible craft for all ages
- Minimal supplies needed to get started
- Perfect for personal creativity and community projects
- Can be used for decoration, gifts, or kindness rocks
- No prior art experience required
Getting Started with Essential Supplies
Starting with rock art and pebble art is exciting. You’ll need basic supplies to turn stones into beautiful art. Whether you’re new or want to improve, the right tools make the journey fun and easy.
Before you begin, gather the essential materials. The best part? You don’t have to spend a lot to get started.
Basic Materials Checklist
- Smooth, clean rocks (various sizes)
- Acrylic paints
- Paintbrushes
- Paint primer
- Protective sealant
Choosing the Right Paints and Brushes
Acrylic paints are the top pick for rock art fans. They dry fast, are colorful, and won’t cost a lot. Brands like Apple Barrel or Craft Smart are great, priced between $1-$3 per bottle.
| Paint Type | Price Range | Best For |
|---|---|---|
| Craft Acrylics | $1-$3 | Beginners |
| Professional Acrylics | $5-$10 | Advanced Artists |
Additional Tools to Enhance Your Pebble Art
To improve your rock art, consider these tools:
- Dotting tools ($5-$10 set)
- Fine-tipped paint pens
- Pencils for initial sketching
- Clear protective varnish
Pro tip: Start with the basics and add more as you get better. Remember, creativity is more important than expensive tools!
Finding and Preparing Your Rocks

Your journey in rock painting starts with finding the right canvas. Look for smooth, flat rocks in your backyard, local parks, or beaches. These stones are perfect for your creative designs.
When picking rocks, look for these features:
- Smooth, flat surfaces
- Medium-sized rocks (3-6 inches)
- Solid colors without major cracks
- Clean, debris-free stones
If you don’t want to hunt for rocks, you can buy them at craft stores. Some artists like buying special stones for a uniform look.
Getting your rocks ready is key for great painting. Here’s how to clean them:
- Wash rocks with warm water
- Scrub gently with a soft brush
- Dry completely with a clean towel
- Optional: Apply a white primer for brighter colors
Pro tip: Always check local regulations before collecting rocks from natural environments. Some areas prohibit removing stones from parks or protected lands.
Remember, every rock tells a story – your painting will be its unique voice!
Rock Painting Techniques and Methods
Exploring outdoor art means learning various rock painting techniques. These methods turn simple stones into beautiful pieces. Whether you’re new or skilled, knowing different painting styles can boost your creativity.
Starting your rock painting journey involves trying out many approaches. Each method offers a chance to express your creativity in new ways.
Basic Painting Techniques
Begin your outdoor art adventure with basic rock painting methods:
- Solid color application
- Simple geometric designs
- Basic dotting techniques
- Stencil painting
Advanced Design Methods
Once you’re more confident, try more complex techniques:
- Color blending
- Creating gradients
- Layering intricate details
- Realistic shading
Special Effects and Textures
Make your artistic stones stand out with these techniques:
| Technique | Description | Difficulty Level |
|---|---|---|
| Metallic Accents | Add shimmer with metallic paints | Intermediate |
| Texture Layering | Use natural rock surfaces for unique effects | Advanced |
| Natural Element Integration | Incorporate rock’s natural patterns | Expert |
Remember, practice makes perfect. Each technique is a chance to find your unique style in rock painting.
Creative Design Ideas and Inspiration

Rock painting lets you turn simple stones into stunning art. It’s a great way to start your rock décor journey. You can create designs that bring joy and spark creativity, whether you’re new or experienced.
Here are some exciting design ideas to get you started:
- Nature-inspired themes: Landscapes, flowers, animals
- Seasonal motifs: Winter snowflakes, summer beach scenes
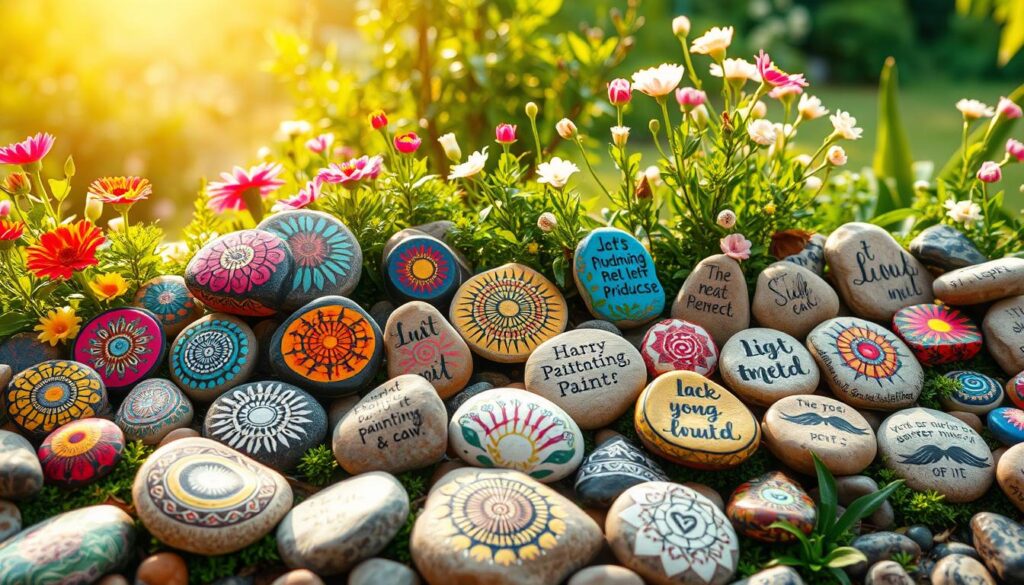
- Mandala patterns with intricate geometric designs
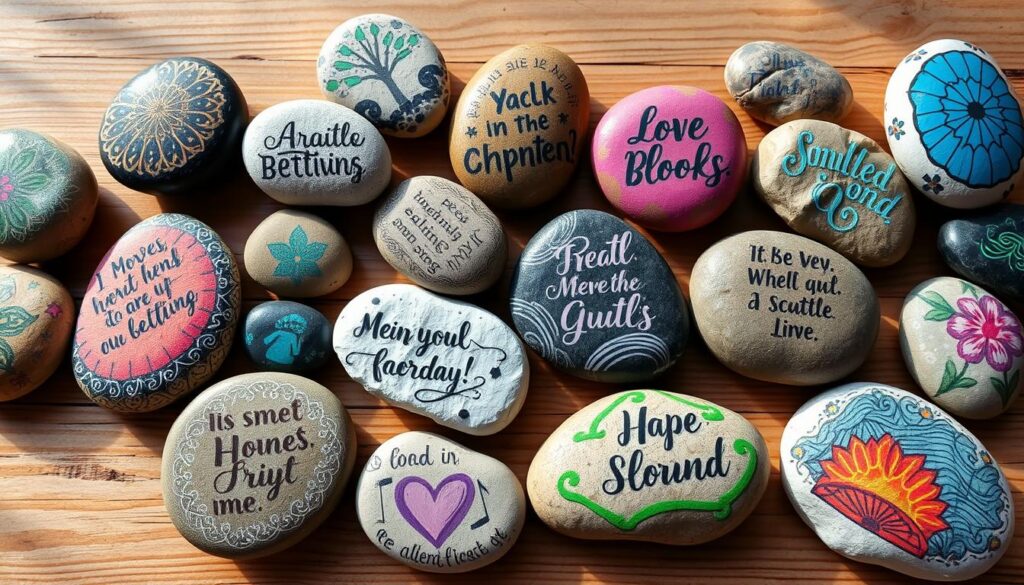
- Inspirational quotes and positive messages
- Abstract color blends and watercolor effects
Rock painting is also a great way to relax and focus. You can make intricate mandalas or simple motivational messages. It’s a journey of self-expression that’s both calming and fulfilling.
Try different styles to find what works best for you:
- Dot painting: Create detailed patterns using precise dot techniques
- Watercolor effects: Blend colors for soft, dreamy designs
- Realistic scenes: Paint miniature landscapes or animal portraits
Your rock décor can add beauty to your home, garden, or be a thoughtful gift. It’s a way to show off your creativity and personal style.
Rock Painting for Different Skill Levels
Rock painting is for everyone, no matter your age or skill. It’s a fun way to be creative, enjoyed by all.
You can start simple and get better over time. This craft is easy to get into and full of creative possibilities.
Beginner-Friendly Designs
For beginners, start with easy designs to boost your confidence:
- Simple polka dot patterns
- Basic geometric shapes
- Solid color backgrounds
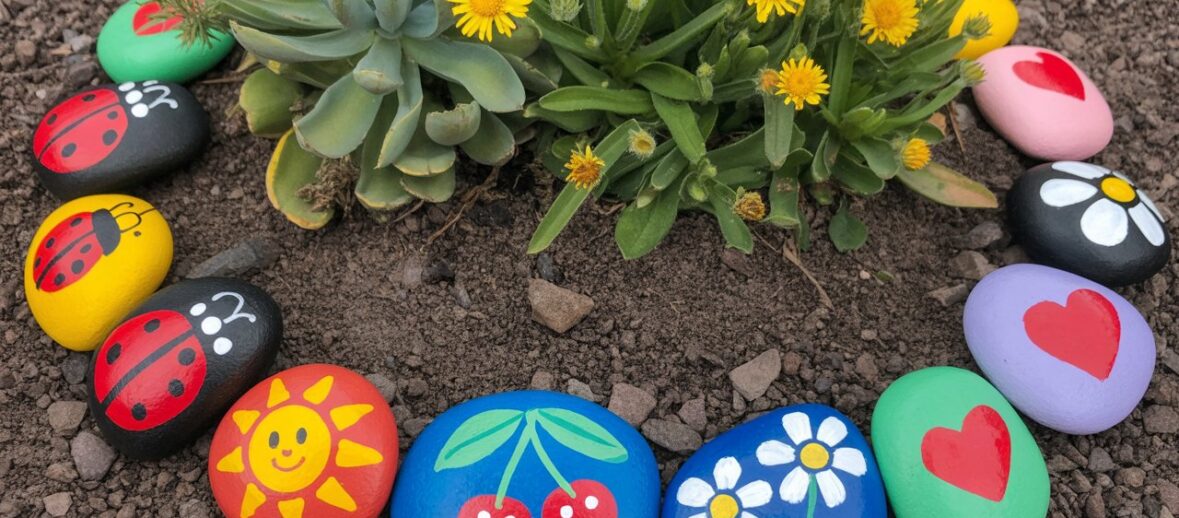
- Cute animal silhouettes
Pro tip: Use stencils or painter’s tape to create clean lines and perfect shapes while learning.
Intermediate Projects
Once you’re more confident, try more detailed techniques:
- Layered color designs
- Basic landscape scenes
- Simple mandala patterns
- Nature-inspired illustrations
“Creativity is intelligence having fun!” – Albert Einstein
Advanced Artistic Techniques
For those who’ve mastered the basics, try these advanced methods:
- Photorealistic paintings
- Intricate mandala designs
- Multi-dimensional scenes
- Miniature landscape art
Rock painting is about having fun and showing your creativity. Every rock has a story, no matter your skill.
Protecting and Preserving Your Painted Rocks
Making beautiful stone paintings needs careful care to keep them looking great. The right seal can really help keep your rock designs looking sharp.
Before sealing your painted rocks, pick the right protective layer. Each sealant has its own level of protection for your stone art.
- Spray sealants give quick, even coverage
- Brush-on sealants let you apply more precisely
- Water-based sealants are best for indoor art
- Polyurethane sealants offer top protection for outdoors
For outdoor art facing harsh weather, choose a sealant with UV and water protection. Outdoor rocks need extra toughness to handle sun, rain, and temperature swings.
| Sealant Type | Indoor Use | Outdoor Use | Durability |
|---|---|---|---|
| Spray Sealant | Good | Moderate | Medium |
| Polyurethane | Excellent | Excellent | High |
| Acrylic Sealer | Good | Good | Medium |
To keep your stone painting safe, follow these steps:
- Clean the rock well
- Let paint dry fully
- Apply thin, even sealant layers
- Wait for each layer to dry before adding more
- Keep rocks away from direct sunlight
Proper sealing helps your outdoor art last longer. It keeps your stone painting bright and safe for many years.
Conclusion
Rock painting is a world of nature crafts that connects you with creativity. It’s fun for both kids and adults. This hobby lets you turn ordinary stones into amazing pieces that bring joy and spark imagination.
Rock painting can be more than just a hobby. It can be therapeutic and even turn into a small business. You can sell your rocks at local markets or online. This craft lets you explore personal projects, create home decor, or join in on community activities.
Begin with simple techniques and grow your skills over time. Rock art is about enjoying the journey and expressing yourself. Each stone is a blank canvas for your creativity. You can create mandalas or landscapes, and your skills will improve with practice.
We encourage you to share your rock art and connect with others. This craft brings people together, forming a community of artists. Your rock painting journey is just starting. Embrace the creativity, have fun, and let your imagination soar!
FAQ
Do I need to be an artist to start rock painting?
What kind of rocks are best for painting?
What type of paint should I use for rock painting?
How do I seal my painted rocks?
Can children participate in rock painting?
Where can I display or share my painted rocks?
How much does it cost to start rock painting?
FAQ
Do I need to be an artist to start rock painting?
No, you don’t need to be an artist to start rock painting. It’s a craft that welcomes everyone, no matter your skill level. You can begin with simple designs like dots or stripes. Rock painting is all about exploring your creativity without feeling pressured.
What kind of rocks are best for painting?
Choose smooth, flat rocks with an even surface. River rocks, beach stones, and landscaping stones are great. Make sure they’re clean, dry, and smooth. You can find them in your backyard, local parks, craft stores, or garden centers.
What type of paint should I use for rock painting?
Use acrylic paints for rock painting. They’re easy to find, use, and stick well to stone. Look for multi-surface acrylic paints. Brands like Apple Barrel or DecoArt are good for beginners.
How do I seal my painted rocks?
Sealing is key, especially for outdoor rocks. Use a clear acrylic spray or brush-on polyurethane. Apply 2-3 thin coats, letting each dry fully. This keeps your design safe from moisture, UV rays, and wear.
Can children participate in rock painting?
Yes, rock painting is perfect for families. For kids, use kid-friendly paints and simple designs. It’s a fun way to boost creativity and spend time together.
Where can I display or share my painted rocks?
You can display them in your garden, home, or leave them as kindness rocks. Join online communities to share and get inspired. It’s a great way to spread joy.
How much does it cost to start rock painting?
Starting rock painting is affordable. Basic supplies like paints, brushes, and rocks cost about $0 to $5 depending what you have on hand. You can use these for many projects. As you get more into it, you can add more tools.
Are there any environmental considerations when collecting rocks?
Always check local rules. Don’t take rocks from protected areas or private land without permission. You can find rocks at craft stores or your own yard. When collecting from nature, take only a few and leave the area untouched.
Are there any environmental considerations when collecting rocks?
**********************************************************************************************************************
Don’t miss out on more great content!
Visit my Pinterest here https://www.pinterest.com/abrandtblog/_saved/
Follow me for budget-friendly crafts, recipes, and lifestyle tips.


2 Responses
DO YOU HAVE ROCKS WITH OUT LINED PICTURES TO PAINT
No but you can find paintable flat rocks on Amazon. Check my Pinterest account too for more content at https://www.pinterest.com/abrandtblog/_saved/ and follow me for more new ideas!