

This website contains affiliate links. As an Amazon Associate, I earn from qualifying purchases at no extra cost to you.
Every t-shirt has a story. Concert tees, faded sports jerseys, and school shirts in your closet are more than fabric. They’re memories waiting to be turned into something special.
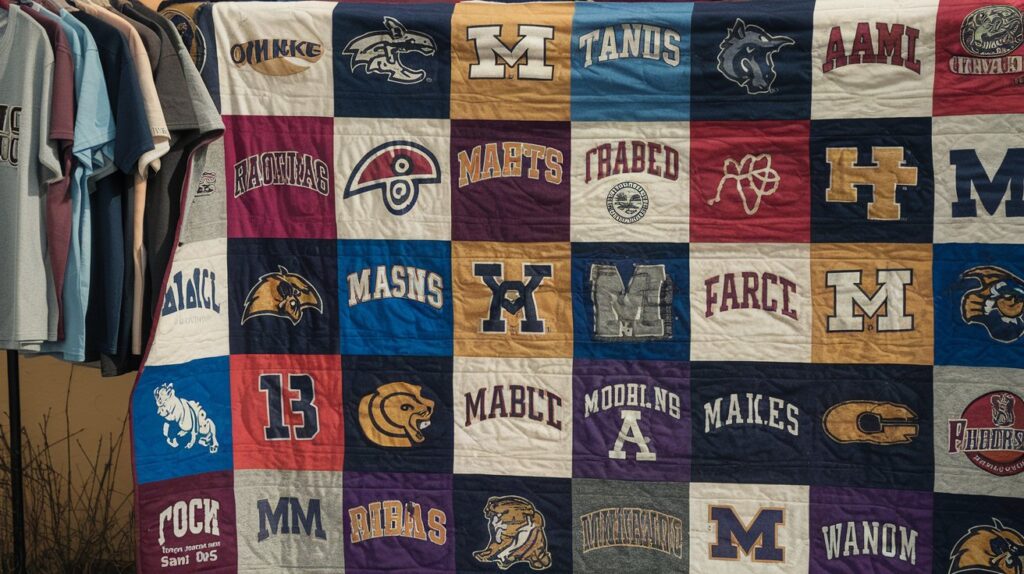
Imagine having a blanket that holds your most precious moments. This guide is for anyone wanting to make a t-shirt quilt. It’s a way to keep your memories close and warm.
T-shirt quilts give old shirts a new life. They’re perfect for remembering college days or family reunions. These quilts are both beautiful and practical, keeping your memories alive.
Key Takeaways
- Transform old t-shirts into a meaningful, personalized quilt
- Preserve memories through creative textile preservation
- No advanced sewing skills required to start your project
- Collect shirts with sentimental value from various life stages
- Create a unique, functional keepsake that tells your story
Essential Materials and Tools for Your T-Shirt Quilt
Making a keepsake quilt from your favorite t-shirts needs careful planning and the right tools. Before starting, make sure you have all the necessary materials. This will help you succeed in your project.
Basic Sewing Supplies
For a professional-looking t-shirt quilt, you’ll need some basic sewing tools. Here’s what you should get:
- Sharp fabric scissors
- Sewing machine with stretch fabric needle
- Matching thread
- Straight pins
- Ironing board and iron
Fabric and Stabilizing Materials
Choosing the right fabric and stabilizers is key for your keepsake quilt. T-shirt material stretches a lot. So, use lightweight fusible interfacing to keep it from distorting.
| Material | Purpose | Recommended Type |
|---|---|---|
| Fusible Interfacing | Stabilize t-shirt blocks | Lightweight, non-woven |
| Backing Fabric | Quilt back support | Cotton or cotton blend |
| Batting | Provide warmth and thickness | Lightweight cotton |
Cutting and Measuring Tools
When making your t-shirt quilt, precision is crucial. Get quality measuring and cutting tools. This ensures your blocks are the same size:
- Rotary cutter
- Self-healing cutting mat
- Clear acrylic ruler (recommended 6″ x 24″)
- Fabric marking pen and chalk
“The right tools make all the difference in transforming cherished t-shirts into a meaningful keepsake quilt.” – Quilt Making Experts
Pro tip: Always buy a bit extra of each material. This way, you’ll have enough for any mistakes or design changes in your t-shirt quilt instructions.
Preparing Your T-Shirts for Quilting
Turning your favorite t-shirts into a sentimental quilt needs careful prep. Before making your t-shirt blanket, clean and organize your shirts well.
First, collect all the t-shirts you want in your quilt. Wash each shirt alone to avoid color mixing and ensure they’re clean. Use cold water and mild detergent to keep designs and fabrics safe.
- Sort shirts by color and fabric weight
- Check for any existing stains or damage
- Iron shirts on low heat to create smooth surfaces
Think about using both the front and back designs of your shirts. This way, you’ll keep more memories in your quilt. Some shirts have special graphics or text on both sides that you’ll want to show.
| Shirt Preparation Step | Key Considerations |
|---|---|
| Washing | Cold water, gentle cycle, mild detergent |
| Drying | Low heat or air dry to prevent shrinkage |
| Ironing | Low heat, use protective cloth if needed |
“Memories are woven into every thread of your t-shirt quilt.” – Quilting Enthusiast
Be extra careful with vintage or delicate shirts. They might need more care to avoid damage. If a shirt is very fragile, use a stabilizing material to help it before cutting.
Planning Your Layout: Design and Measurements
Starting a t-shirt quilt needs careful planning and design. Your layout will show off each shirt’s unique look and memories. It’s what makes your college or personal memory quilt special.

Think about the size and purpose of your quilt first. Different sizes are good for different needs:
- Baby Quilt: Typically 36″ x 48″, requires 9-12 t-shirt blocks
- Lap Quilt: Around 50″ x 65″, needs 16-20 t-shirt blocks
- Twin Bed Quilt: Approximately 68″ x 86″, uses 25-30 t-shirt blocks
Measuring and Calculating Block Sizes
It’s important to have the same block size for a neat look. Measure your t-shirts well and cut blocks to the same size. Most people choose 12″ or 14″ square blocks for easy putting together.
Arranging T-Shirts for Visual Appeal
When designing your college t-shirt quilt, balance is key. Mix colors, graphics, and shirt orientations for interest. Here are some tips:
- Group shirts by color gradient
- Alternate bold and subtle designs
- Place meaningful shirts in prominent positions
Creating a Balanced Design
Your t-shirt quilt should tell a story. Try out different layouts before cutting to make sure each shirt adds to the story. Take photos of your ideas to see how they’ll look together.
Cutting and Stabilizing T-Shirt Blocks
Making a memory quilt from your favorite t-shirts needs careful cutting and stabilization. The right methods will turn your beloved shirts into a stunning, lasting quilt. This quilt will keep your memories alive.
When starting your t-shirt quilt, precision is crucial. First, gather these important tools:
- Rotary cutter
- Cutting mat
- Ruler (12-inch recommended)
- Fusible interfacing
- Sharp fabric scissors
Cutting your t-shirt blocks needs a steady hand and precise measurements. Measure twice, cut once is the key to making perfect memory quilt blocks. Use your ruler to make 14-inch squares, making sure to center any designs.
It’s vital to stabilize the t-shirt fabric for a professional quilt. Fusible interfacing stops stretching and keeps the shirt’s shape. Here’s how to do it:
- Cut interfacing a bit smaller than your t-shirt block
- Place interfacing rough side down on the shirt’s back
- Use a hot iron to fuse, following the manufacturer’s instructions
- Let blocks cool completely before touching them
Pro tip for your t-shirt quilt: Always test the interfacing on a scrap first. This ensures it won’t change your shirt’s design or color.
Sewing Techniques for T-Shirt Quilts
Making a keepsake quilt from your favorite t-shirts needs precision and care. The sewing process can be tough, but with the right techniques, you’ll turn your cherished memories into a stunning quilted masterpiece.

Learning the art of t-shirt quilt tutorial means knowing several key sewing techniques. These will make your project look professional and stay together beautifully.
Choosing the Right Seam Allowance
For a successful t-shirt quilt, being consistent is crucial. Follow these guidelines for perfect seam allowances:
- Use a 1/4 inch seam allowance for most t-shirt quilt blocks
- Maintain consistent pressure while sewing
- Backstitch at the beginning and end of each seam
Joining Blocks with Precision
When connecting your t-shirt blocks, focus on these important details:
- Pin blocks together carefully to prevent shifting
- Align edges perfectly before sewing
- Press seams flat after joining
Managing Bulky Seams
T-shirt materials can make seams challenging. Strategic techniques can help you manage these tricky areas:
- Use a walking foot on your sewing machine
- Trim excess stabilizer before joining blocks
- Press seams to one side to reduce bulk
Your t-shirt quilt tutorial journey is about creating a lasting keepsake that preserves memories. With these sewing techniques, you’ll craft a quilt that’s both beautiful and meaningful.
Adding Batting and Backing Materials
Making a t-shirt quilt is more than sewing memories. The batting and backing turn it into a cozy keepsake. They add depth and comfort to your quilt.
Choosing the right batting is key. Cotton batting is breathable and feels traditional. Polyester batting is loftier and more durable. Wool batting adds warmth, perfect for colder quilts.
- Cotton batting: Lightweight and natural
- Polyester batting: Maintains shape and volume
- Wool batting: Provides exceptional warmth
- Bamboo batting: Eco-friendly and soft
For the backing, pick fabrics that match your quilt’s look and feel. Flannel is soft, while cotton is classic and breathable. Wide fabrics reduce seams for a smoother quilt.
| Backing Material | Characteristics | Best Used For |
|---|---|---|
| Cotton | Breathable, durable | Lightweight quilts |
| Flannel | Soft, warm | Cozy, winter quilts |
| Minky | Ultra-soft, plush | Cuddly throw quilts |
To assemble your quilt, start with the backing fabric wrong side up. Add the batting, then your t-shirt top. Pin or spray baste to hold it together. Smooth out wrinkles for a professional finish.
Quilting Methods and Pattern Options
Choosing the right quilting method can make your t-shirt quilt truly special. The patterns you pick will shape the look and feel of your quilt. So, picking the perfect technique is key.
Machine Quilting Techniques
Machine quilting is all about precision and durability. You have many options to explore:
- Straight-line quilting for a modern, clean look
- Meandering designs that add texture and movement
- Geometric patterns that complement t-shirt graphics
Hand-Tying Options
Hand-tying adds a traditional and personal touch. It involves:
- Using soft yarn or embroidery floss
- Creating small knots at regular intervals
- Adding a handcrafted feel to your sentimental quilt
“The quilting method you choose tells a story as unique as the t-shirts themselves.” – Quilting Enthusiast
Remember, your t-shirt quilt patterns should capture the memories and emotions of each shirt. Take your time and enjoy the creative journey of turning cherished memories into a lasting keepsake.
Binding and Finishing Your Quilt
Creating the perfect binding is the final step in making a t-shirt quilt. It turns your memory quilt into a polished, professional-looking treasure. This process is key to making your quilt a cherished keepsake.
Begin by trimming any excess fabric around the edges of your quilt. This ensures a clean and even border. Precision is crucial here, as it affects the overall look of your finished quilt.
- Measure and cut binding strips to the correct width
- Prepare your binding material using either matching or contrasting fabric
- Fold and press the binding strips carefully
- Attach the binding using a consistent seam allowance
For those making a t-shirt quilt for the first time, consider these binding techniques:
- Machine binding for a quick and secure finish
- Hand-stitched binding for a more traditional look
- Decorative edge treatments to personalize your quilt
“A well-crafted binding can elevate your memory quilt from simple craft to family heirloom.” – Quilting Experts
The final touches make all the difference. Take your time with the binding process. Ensure each stitch is neat and secure. Your t-shirt quilt will become a lasting memory of cherished moments, carefully preserved in fabric and thread.
| Binding Method | Difficulty Level | Time Required |
|---|---|---|
| Machine Binding | Beginner | 2-3 hours |
| Hand-Stitched Binding | Intermediate | 4-6 hours |
| Decorative Edge Binding | Advanced | 5-7 hours |
Pro tip: Choose a binding fabric that complements the t-shirts in your memory quilt. This creates a cohesive and meaningful design.
Tips for Personalizing Your T-Shirt Quilt
Turning your favorite t-shirts into a quilt is a great way to keep memories alive. Your college t-shirt quilt can become a unique piece of art with some creative ideas. Think about adding special touches that make it truly yours.
Embroidery is a great way to make your quilt personal. You can stitch in important dates, names, or quotes on blank spots. For a college t-shirt quilt, adding your graduation year or school motto adds a special touch. Professional embroidery costs between $10 to $50, based on how detailed it is.
Adding fabric elements can also make your quilt stand out. Using t-shirts from family members with special memories is a good idea. You could also include photos on fabric, patches for different life stages, or fabric squares that match your favorite shirts. These extras usually cost between $25 to $75, making your quilt a one-of-a-kind keepsake.
Personalization is all about telling your story. Every detail you add turns the quilt into a meaningful part of your life’s journey. Whether it’s a college t-shirt quilt or a collection of memories, your creation will be cherished for years.
FAQ
How many t-shirts do I need to make a t-shirt quilt?
Can I use old or stretched-out t-shirts for my quilt?
Do I need to be an experienced quilter to make a t-shirt quilt?
How much does it cost to make a t-shirt quilt?
Can I include different types of shirts in my quilt?
How do I preserve delicate or vintage t-shirts in the quilt?
What size should I make my t-shirt quilt blocks?
How do I care for my finished t-shirt quilt?
Can I make a t-shirt quilt if I don’t have a sewing machine?
How long does it take to make a t-shirt quilt?
***********************************************************************************************************************
Want more ideas like this? Head over to my Pinterest account!
https://www.pinterest.com/abrandtblog/_saved
Follow me here for new tips and projects every week.