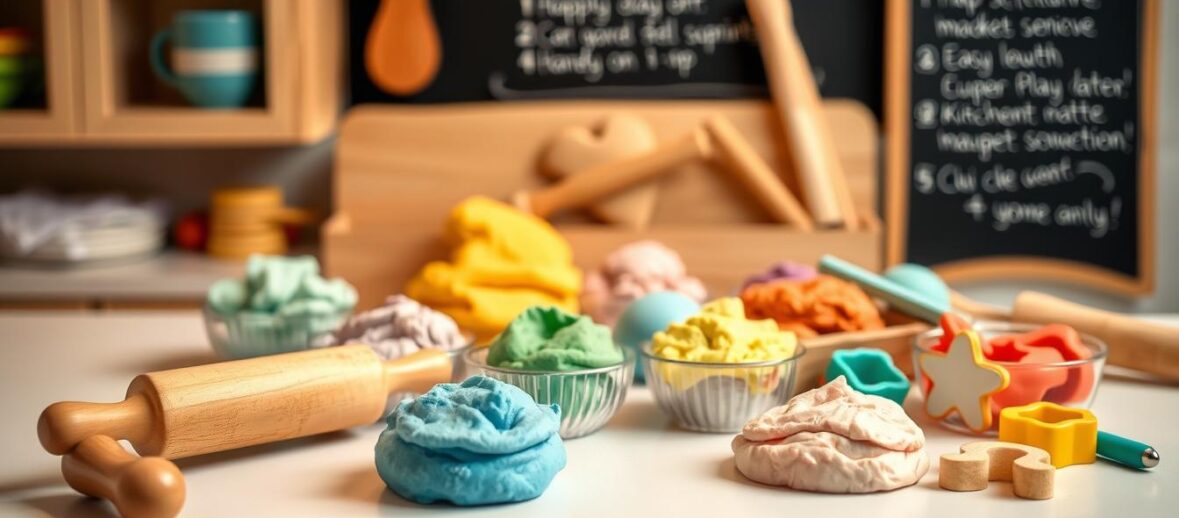
Do you remember playing with soft, squishy playdough as a kid? Making your own playdough is a fun way to spark creativity. It brings joy and imagination into your home.
Creating homemade playdough is more than saving money. It’s about making memories. With simple kitchen ingredients, you can make a safe, fun play material. Your kids will enjoy making their own playdough, making any day special.
Key Takeaways
- DIY playdough is cost-effective and easy to make
- Homemade playdough is non-toxic and safe for children
- Making playdough together can be a fun family activity
- You can customize colors and scents easily
- Homemade playdough often lasts longer than store-bought versions
Essential Ingredients and Supplies for Homemade Playdough
Starting to make flour playdough is easy. You just need to get the right stuff from your kitchen. Making it at home lets you pick what goes into your child’s play.
Playdough is simple to make. You can use natural ingredients you likely have at home. This makes it safe and fun for kids.
Basic Kitchen Ingredients
- All-purpose flour (2 cups)
- Table salt (1 cup)
- Cream of tartar (2 tablespoons)
- Vegetable oil (2 tablespoons)
- Warm water (1.5 cups)
Each ingredient is important for the right playdough. Flour is the base, salt keeps it fresh, and cream of tartar makes it smooth.
Optional Enhancement Materials
| Enhancement | Purpose | Quantity |
|---|---|---|
| Food Coloring | Add vibrant colors | 3-5 drops |
| Glitter | Create sparkly texture | 1-2 teaspoons |
| Essential Oils | Add pleasant scents | 2-3 drops |
Using natural ingredients makes playdough safe for kids. Adding things like food coloring or glitter can make it even more fun.
Pro tip: Always watch kids when they play with playdough. Keep it in a sealed container to keep it fresh.
How to Make DIY Playdough
Making your own playdough is a fun project for kids and adults. This simple recipe lets you create colorful playdough at home with basic ingredients.
To begin, collect your ingredients. You’ll need a few kitchen items that turn into a fun dough quickly.
- Measure dry ingredients precisely
- Mix wet ingredients separately
- Combine and cook the mixture
- Knead until smooth
Here’s a detailed list of what you’ll need for your project:
| Ingredient | Quantity | Purpose |
|---|---|---|
| All-purpose flour | 2 cups | Base for playdough |
| Salt | 1/2 cup | Preservative and texture |
| Cream of tartar | 2 tbsp | Smooth consistency |
| Vegetable oil | 2 tbsp | Moisture and flexibility |
| Water | 1.5 cups | Binding ingredient |
When cooking your playdough, stir constantly over medium heat. It will thicken and form a ball in 3-5 minutes. Remove it from heat when it pulls away from the pan.
Put the hot dough on a clean surface and knead for 2-3 minutes. Let it cool before storing it in an airtight container. Your homemade playdough is now ready for fun!
No-Cook Playdough Alternative Method
Making no-cook playdough is a fun and easy project for kids. It’s quick and doesn’t need cooking. You can make a batch of soft dough in just a few minutes with simple ingredients.
This method is great for families who want a fast and safe activity. Kids can play without worrying about stove-top dangers.
Quick Mix Process
Here’s how to make your no-cook playdough:
- Gather ingredients: flour, salt, vegetable oil, warm water, food coloring
- Mix dry ingredients in a large bowl
- Add warm water and oil
- Stir until a soft dough forms
- Knead for 2-3 minutes until smooth
Troubleshooting Tips
Playdough can be tricky, but these tips help:
| Issue | Solution |
|---|---|
| Sticky Dough | Add small amounts of flour |
| Crumbly Texture | Incorporate extra warm water |
| Dry Playdough | Knead in a few drops of oil |
Remember, practice makes perfect. You might need to tweak each batch to get the right consistency.
Storage and Maintenance Tips
Keeping homemade playdough fresh for sensory play is easy. Just follow a few storage tips. This way, your playdough will last longer, saving you money.
Here are the key storage tips to keep your playdough fresh:
- Store in airtight containers or resealable plastic bags
- Keep playdough away from direct sunlight and heat sources
- Separate colors to prevent mixing and discoloration
Pro tip: Refrigeration can make your playdough last longer. Store it in an airtight container in the fridge. It can last up to 3-4 months.
Even dry playdough can be revived. Here’s how:
- Knead a few drops of water into the dried playdough
- Work the moisture evenly throughout the dough
- Continue kneading until it regains its original soft texture
Watch for mold or a bad smell. It’s time for a new batch then. With these tips, your homemade playdough will keep kids entertained for weeks.
Conclusion
Making your own playdough turns a regular day into a fun family activity. It’s a simple craft that brings everyone together. With just a few kitchen items, you can make a soft, colorful play material that’s cheaper than store-bought ones.
Homemade playdough is more than just fun. It creates lasting memories, sparks creativity, and makes kids feel proud. A simple recipe can lead to hours of fun, learning, and bonding with your little ones.
Whether you’re a parent, grandparent, or caregiver, making playdough is a great way to connect with kids. Your homemade playdough becomes a place for exploration, stories, and learning. Get your ingredients ready, invite the kids to join in, and watch their faces light up.
We encourage you to share your playdough-making stories! Take a photo of your colorful creations, try out new colors and smells, and inspire other families. Your kitchen is about to become the most exciting play area in town!

