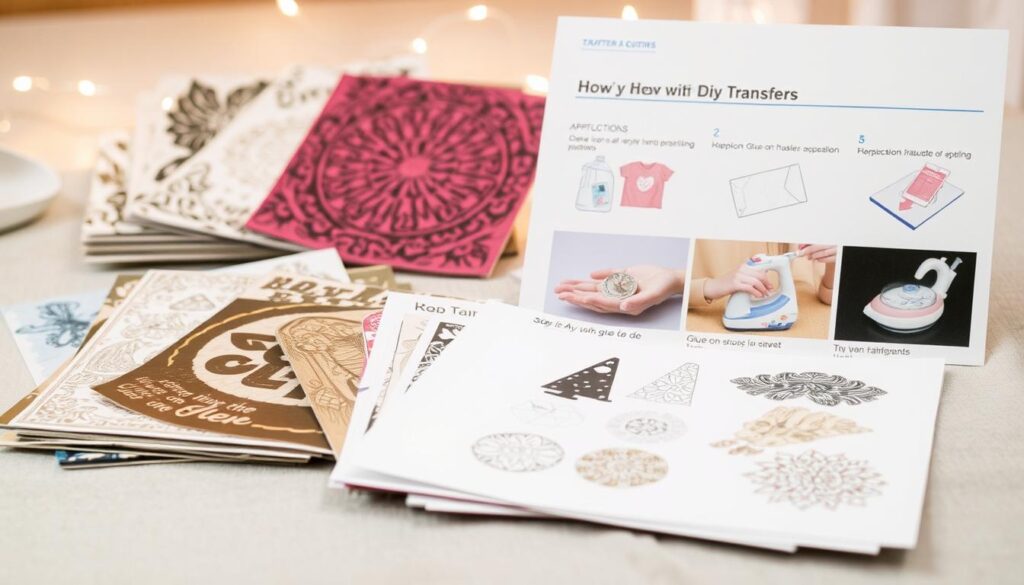
Crafting enthusiasts and DIY lovers, get ready to change your projects with amazing diy transfers! These techniques let you add your own touch to fabric, furniture, and home decor. You’ll get professional-looking results.
DIY transfers unlock endless creative possibilities. Want to customize a t-shirt, update furniture, or make unique gifts? Craft transfers are an easy, affordable way to add personal designs to almost any surface.
In this guide, you’ll learn about different transfer methods. We’ll cover iron-on, rub-on, and glue-on techniques. You’ll get all the info you need to make stunning custom designs that show off your style and creativity.
Key Takeaways
- Learn multiple DIY transfer techniques
- Understand various surface application methods
- Create personalized craft projects easily
- Explore affordable design customization
- Master professional-looking transfer skills
Understanding DIY Transfer Basics
Dive into the world of DIY transfers for craft projects. Here, creativity meets personalization. These techniques let you turn ordinary items into unique masterpieces with iron on transfers and new methods.
DIY transfers offer a world of artistic possibilities for crafters of all levels. You can personalize t-shirts, decorate home accessories, or make custom gifts. Transfers for craft projects are a fun way to show your creativity.
What Are DIY Transfers?
DIY transfers let you move designs, images, or text from one surface to another. They usually involve:
- Printing designs on special transfer paper
- Using heat to apply images to fabric or other surfaces
- Creating custom graphics for various craft projects
Types of Transfer Methods
Crafters have many transfer techniques to choose from, based on their project needs:
- Inkjet Printer Transfers: Print designs directly onto transfer paper
- Cricut Machine Transfers: Use digital cutting machines for precise designs
- Napkin Transfers: Delicate method for decorative surfaces
- Iron-On Transfers: Classic method for fabric and clothing
Benefits of Making Your Own Transfers
Creating your own transfers has many benefits for craft enthusiasts:
- Cost-effective alternative to store-bought designs
- Complete creative control over your projects
- Ability to personalize gifts and home decor
- Opportunity to develop unique crafting skills
With these transfer techniques, you’ll unlock endless possibilities. Start exploring and let your creativity shine!
Essential Tools and Materials Needed
Creating stunning transfers for clothing and furniture doesn’t require a lot of money. With a few key tools and materials, you can turn ordinary items into personalized masterpieces.
- Laser printer (recommended for crisp transfer images)
- Transfer paper specifically designed for clothing or furniture
- High-quality brushes
- Mod Podge or specialized transfer medium
- Scissors
- Iron or heat press
For those on a budget, there are affordable transfer products out there. Online marketplaces like Amazon and craft supply websites often have great deals on transfer materials.
| Material | Average Cost | Best For |
|---|---|---|
| Transfer Paper | $10-$20 per pack | Clothing and light surfaces |
| Mod Podge | $6-$12 per bottle | Furniture and home decor transfers |
| Laser Printer Transfers | $15-$30 per set | Professional-looking designs |
When picking materials for transfers, think about the surface and use. Quality materials make a big difference in your final product.
“The right tools can turn an ordinary DIY project into an extraordinary creation.” – Craft Enthusiast
Pro tip: Look for sales and discounts at local craft stores. Many offer beginner-friendly transfer material kits at a lower price.
How to Make and Use Transfers
Diving into DIY transfers can change your crafting game. It’s great for personalizing furniture, making unique decor, or creating custom gifts. Knowing how to use glue and rub on transfers is essential for success.

Creating beautiful transfers begins with picking the right images and preparing your design well. Success in DIY transfers comes from mastering a few key steps. With practice, anyone can get the hang of it.
Selecting the Right Images
Finding the perfect image is the first step to great transfers. Here are some tips for choosing:
- Choose high-contrast images with clear details
- Look for graphics with simple backgrounds
- Use copyright-free or personal images
- Select images that work well on your intended surface
Preparing Your Design
Getting your design ready is key for successful transfers. Spend time on:
- Printing your image on the right transfer paper
- Adjusting the image size to fit your project
- Trimming excess paper carefully
- Testing the image transfer on a sample surface
Transfer Application Process
Applying DIY transfers needs patience and precision. Different surfaces might need different techniques, but the basic steps stay the same. Make sure your surface is clean, dry, and smooth before starting.
Pro Tip: Practice makes perfect! Don’t get discouraged if your first few transfers aren’t flawless.
Try different techniques and surfaces to become a transfer pro. Remember, each project is a chance to learn and improve your skills, making something truly unique.
Choosing the Perfect Surface for Transfers
Choosing the right surface is key for your DIY transfer project. Different materials need different approaches. This ensures your transfer looks great and lasts.
Transfers can shine on many surfaces, each with its own traits and challenges. Fabric transfers are perfect for cotton, polyester, and blends. Wooden surfaces like dressers and picture frames are great for furniture transfers.
- Best surfaces for transfers for furniture:
- Unfinished wood
- Painted wooden surfaces
- Smooth metal furniture
- Ceramic pieces
- Ideal surfaces for transfers for clothing:
- 100% cotton t-shirts
- Canvas bags
- Denim jackets
- Aprons
Pro tip: Always test your transfer method on a small, inconspicuous area first to ensure compatibility and desired results.
Metal surfaces can be tricky but rewarding. Smooth, clean metal like lamp bases or trays are great for transfers. Clean them well and use primer if needed.
Remember, the key to successful transfers is understanding your chosen surface’s texture and composition.
Whether you’re transforming furniture or personalizing clothing, matching your transfer technique to the right surface will guarantee stunning, long-lasting results.
Step-by-Step Transfer Application Guide
Creating beautiful designs with iron on transfers and glue and rub on transfers can turn ordinary items into personalized masterpieces. This guide will take you through each step of the transfer application process. You’ll get professional-looking results every time. Before we dive into the techniques, it’s important to understand the different transfer methods. Your success depends on careful preparation and precise application.
Surface Preparation Essentials
Preparing your surface is key to a successful transfer. For iron on transfers, follow these steps:
- Clean the surface thoroughly with rubbing alcohol
- Ensure the surface is completely dry and smooth
- Remove any dust or debris with a lint-free cloth
- Preheat the surface to room temperature
Transfer Application Techniques
Different transfer types need unique application methods. Glue and rub on transfers each have specific techniques for the best adhesion:
- For iron on transfers:
- Use a clean, flat ironing surface
- Set iron to medium-high heat
- Apply firm, even pressure
- For glue transfers:
- Apply thin, even layer of transfer adhesive
- Wait for adhesive to become tacky
- Carefully position the design
Drying and Setting Process
The final stage of transfer application is critical for long-lasting results. Patience is key during the drying and setting process:
- Allow transfers to cool completely after application
- For fabric transfers, wait 24 hours before washing
- Use low heat settings when setting transfers
- Avoid stretching or manipulating the surface during initial drying
By following these detailed steps, you’ll create professional-looking transfers. They will showcase your creativity and personal style.
Troubleshooting Common Transfer Problems
Craft transfers can sometimes be tricky, but don’t worry! Most issues during diy transfers are easily fixable with the right techniques. Understanding common problems will help you create flawless transfer projects every time.
When working with craft transfers, you might encounter several typical challenges:
- Incomplete Transfers: This happens when parts of your design don’t stick properly
- Bubbling: Air pockets that create uneven surfaces
- Smudging: Blurred or distorted image transfers
- Peeling: Edges or sections lifting away from the surface
To prevent these issues, follow these key strategies for successful diy transfers:
- Ensure your surface is clean and completely dry before starting
- Use high-quality transfer paper designed for your specific project
- Apply even pressure during the transfer process
- Allow sufficient drying time between application steps
If you encounter bubbling during your craft transfers, gently press from the center outward with a soft cloth or squeegee. For smudging, check that your printer ink is compatible with the transfer method you’re using.
Remember, practice makes perfect with diy transfers. Each project helps you improve your technique and understand the nuances of different transfer methods.
Creative Projects and Ideas
Unleash your creativity with DIY transfers! These versatile crafting techniques open up a world of possibilities. You can transform ordinary items into extraordinary masterpieces. Whether you’re looking to revamp furniture or create unique craft projects, transfers offer an exciting way to personalize your belongings.
Transfers for furniture and craft projects can breathe new life into almost any surface. Let’s explore some inspiring ways to use these magical design tools:
Furniture Makeover Magic
Transforming old furniture becomes a breeze with transfers for furniture. You can easily update:
- Vintage dressers with intricate vintage designs
- Plain wooden chairs with elegant graphic patterns
- Worn side tables with stunning artistic imagery
Home Decor Innovations
Craft enthusiasts can use transfers to elevate home decor in creative ways:
- Create custom wall art
- Personalize ceramic plates
- Design unique throw pillow covers
- Decorate picture frames
Thoughtful Gift Making
DIY transfers for craft projects make gift-giving more personal. Consider these heartwarming ideas:
- Personalized photo transfer onto wooden cutting boards
- Custom mugs with memorable quotes
- Unique tote bags with family photos
Each project offers a chance to showcase your creativity. Transform everyday items into cherished keepsakes. With transfers, your imagination is the only limit!
Conclusion
DIY transfers open up a world of creative possibilities. You’ve learned how to make ordinary surfaces into personalized masterpieces. This is done using simple craft transfers techniques.
These skills can give new life to furniture, home decor, and personal accessories. It’s all done in just a few easy steps.
Your journey into DIY transfers doesn’t have to be hard or costly. With the right tools and a bit of imagination, you can make stunning custom designs. These designs reflect your unique style.
Whether you’re looking to revamp an old piece of furniture or create thoughtful handmade gifts, craft transfers are a great option. They offer an affordable and exciting way to express your creativity.
Start small and try out different surfaces and techniques. Each project will help you grow more confident and skilled in working with DIY transfers. Remember, practice makes perfect.
Every transfer you create is a chance to learn and get better at your craft. The most important thing is to have fun and let your creativity shine through your unique transfer projects.
Now is the perfect time to start your DIY transfer adventure. Your next incredible craft project is waiting for you. You have all the knowledge and inspiration you need to get started.
Embrace the art of craft transfers and watch your creative vision come to life!
FAQ
What exactly are DIY transfers?
What surfaces can I use transfers on?
What tools do I need to create DIY transfers?
Are DIY transfers expensive to make?
How do I prevent transfer problems like bubbling or peeling?
Can I create transfers at home without professional equipment?
How long do DIY transfers typically last?
Where can I find images for my transfers?
Can transfers be used on dark-colored surfaces?
Are DIY transfers permanent?
********************************************************************************************************************
Don’t miss out on more great content!
Visit my Pinterest account here:
https://www.pinterest.com/abrandtblog/_saved
Follow me for budget-friendly crafts, recipes, and lifestyle tips.
Thanks for reading!

