Ever looked at a plain couch and thought of a quick makeover? I found sewing pillow covers on a lazy Sunday. It was a simple project that made my living room look new in minutes.
Sewing a pillow cover in 10 minutes is simple. These projects are great for beginners. They can change your space without costing much or needing advanced skills. This guide will help you make envelope pillow covers that look great.
Making your own pillow covers lets you add your personal touch. You can match the seasons or try out new fabrics and designs. Plus, you’ll get better at sewing while making something useful and nice.
Key Takeaways
- Learn to sew a pillow cover in just 10 minutes
- No advanced sewing skills required
- Affordable way to update home decor
- Customize your living space with personal touches
- Build confidence in basic sewing techniques
Essential Materials and Tools for Your Quick Pillow Cover
Making a no-zipper pillow cover is a fun 10-minute craft you can do at home. First, get the right materials and tools to make it easy.
Creating a beautiful pillow cover needs the right fabrics and tools. Your project’s success depends on picking materials that match your sewing skills and home decor.
Fabric Selection Tips
When picking fabric for your no-zipper pillow cover, keep these tips in mind:
- Choose 100% cotton for easy projects
- Go for medium-weight fabrics for lasting quality
- Match patterns with your home’s style
- Prewash fabrics to avoid shrinkage
Required Tools and Notions
For your 10-minute crafts pillow cover, you’ll need these key tools:
- A sewing machine (or needle and thread)
- Fabric scissors
- Measuring tape
- Straight pins
- An iron for sharp edges
Measuring and Sizing Guide
Getting the right measurements is key for a perfect fit. Follow these tips for a professional look:
| Pillow Size | Fabric Cut Size |
|---|---|
| 16×16 inches | 2 pieces 17×17 inches |
| 18×18 inches | 2 pieces 19×19 inches |
| 20×20 inches | 2 pieces 21×21 inches |
Pro tip: Always add 1/2 inch to each side for seam allowances when cutting your fabric for a no-zipper pillow cover.
Sew a Simple Pillow Cover in 10 Minutes
Want to give your throw pillows a new look in just 10 minutes? This guide will show you how to make a stylish pillow cover, even if you’re new to sewing.

Before starting, get your materials ready and set up your workspace. Being organized and precise is key to a quick project.
- Measure and cut your fabric:
- Add 1 inch to your pillow’s width for seam allowance
- Cut two pieces – one for the front, one for the back
- Make sure the fabric is smooth
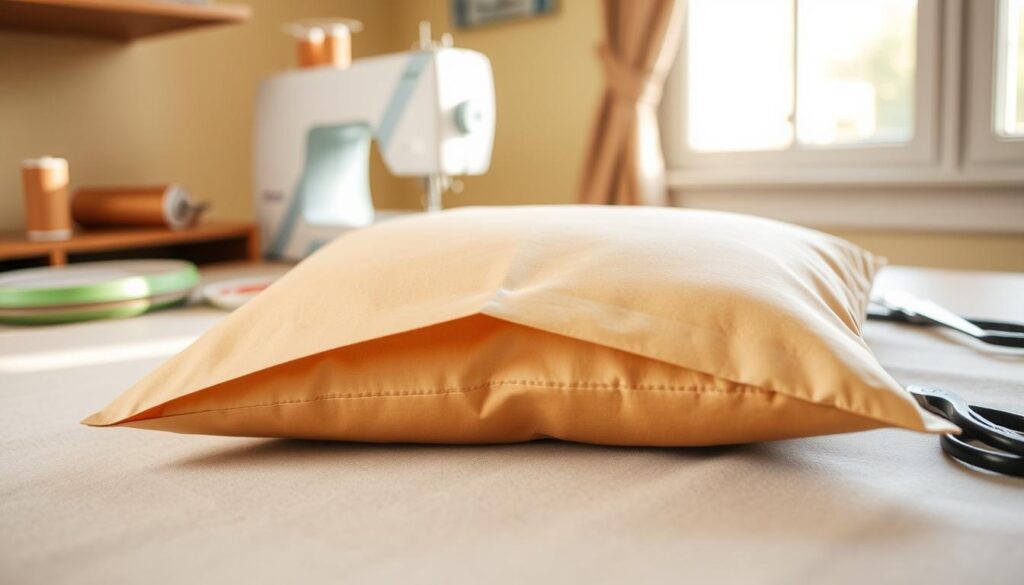
- Prepare the envelope closure:
- Fold and press the edges of the back pieces
- Create a 1/2-inch hem on the overlapping edges
- Pin the edges carefully to keep them straight
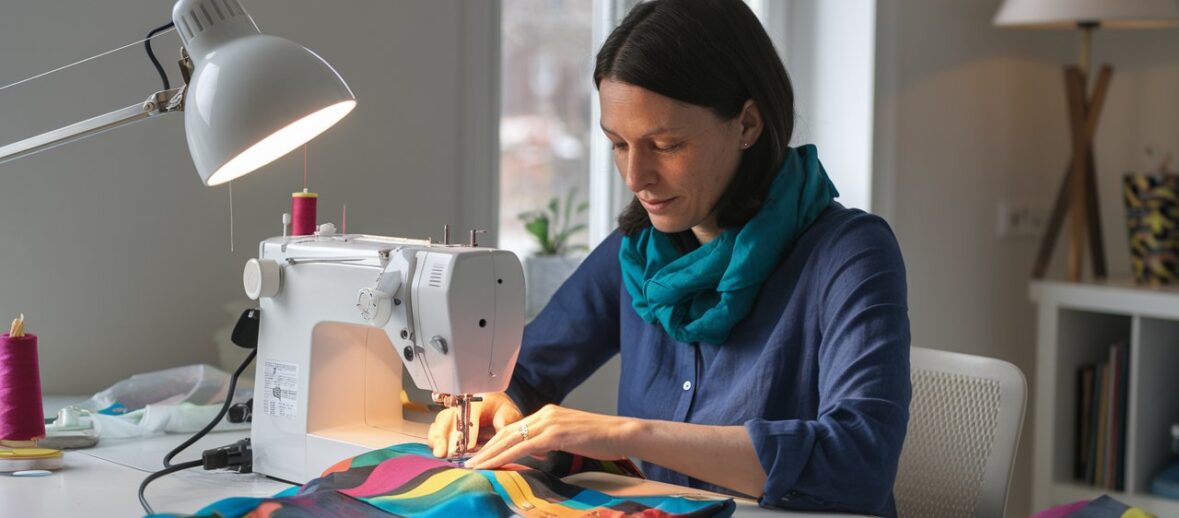
- Sew the pillow cover:
- Place the fabric right sides together
- Stitch around all four sides with a 1/2-inch seam allowance
- Leave an opening on one side about half the length of the side (this will allow you to put the pillow form in after turning right side out, this opening will be hand sewn to close after the pillow form has been inserted)
- Trim the corners to reduce bulk
- Press before inserting the pillow form
Pro tip: Use a serger or zigzag stitch to prevent fabric fraying and create a more durable envelope pillow cover pattern.
With a bit of practice, you’ll quickly master this project. Soon, you’ll be making beautiful custom pillow covers for your home.
Professional Tips for Perfect Envelope Closures
Mastering the envelope pillow cover pattern takes focus and practice. With beginner sewing techniques, your project can look professional. Just a few smart steps can make a big difference.
Creating a polished envelope pillow cover is all about the details. Professional sewers know that the key to success is in the precision of your closures and finishing touches.
Creating Clean Edges and Corners
Sharp, crisp edges are key to a well-made envelope pillow cover. Here are some tips to help you achieve this:
- Press your seams before sewing to get sharp edges
- Use lightweight interfacing to strengthen corner areas
- Trim excess fabric at corners before turning
- Use a pointed tool to gently push out corners
Securing the Envelope Overlap
The envelope closure is crucial for your pillow cover. Here are some beginner sewing tips to ensure a secure and neat overlap:
- Measure the overlap carefully – usually 3-4 inches
- Pin the overlap to keep it in place while sewing
- Backstitch at the edges for extra strength
Reinforcement Techniques
“A strong pillow cover starts with smart reinforcement techniques.” – Professional Seamstress
Strengthen your envelope pillow cover with these professional methods:
- Use double-stitching on high-stress areas
- Choose a durable fabric weight for pillow covers
- Zigzag or serge raw edges to prevent fraying
With practice, you’ll get better at making envelope pillow covers that look like they were made by a pro, even if you’re just starting out.
Customization Options and Design Ideas

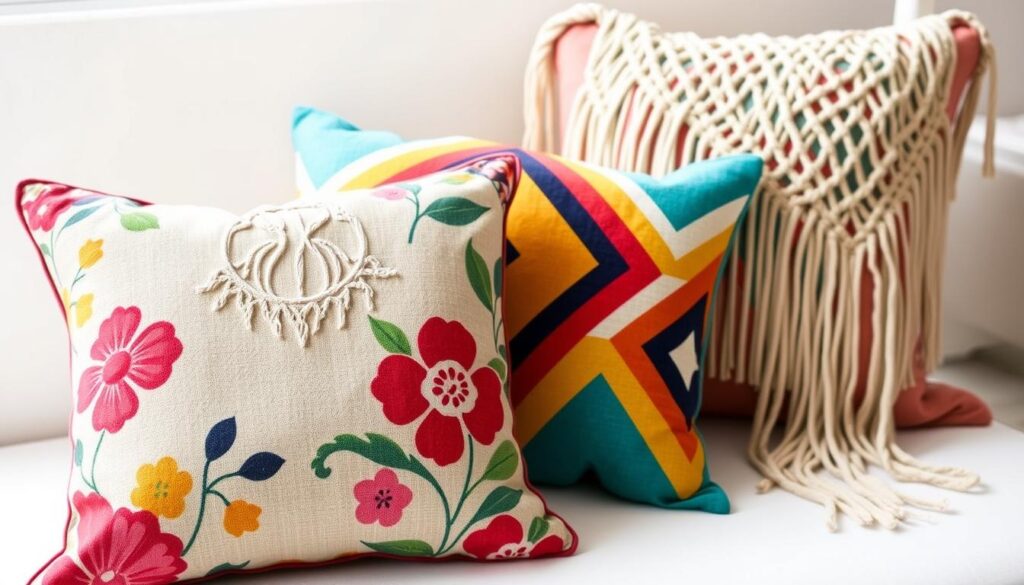
Turn your beginner sewing projects into unique home decor with these fun customization ideas. 10-minute crafts can become stunning, personalized pieces that show off your style. They add personality to any room.
Explore these easy ways to make your simple pillow covers stand out:
- Fabric Paint Techniques: Use stencils or freehand designs to add artistic touches
- Iron-on patches or appliqués for instant visual interest
- Quick embroidery embellishments using simple stitching patterns
- Fabric mixing and color blocking for modern looks
Choosing the right fabric is key to creating eye-catching designs. Try these creative combinations:
| Fabric Type | Design Style | Recommended Use |
|---|---|---|
| Cotton prints | Playful and casual | Living room accent pillows |
| Velvet | Luxurious and elegant | Bedroom decorative covers |
| Linen blend | Rustic and natural | Farmhouse or coastal themes |
Your pillow cover doesn’t have to be complicated to be beautiful. With these beginner sewing projects, you can make stunning designs in just 10 minutes. Try different techniques and let your creativity shine!
Troubleshooting Common Pillow Cover Issues
Sewing a no-zipper pillow cover can be tough for beginners. But, most sewing problems have easy fixes. With the right techniques, you can make a pillow cover that looks like a pro made it.
Every sewist faces challenges. The trick is to know how to solve these problems fast and well.
Fabric Alignment Challenges
Aligning fabric can be hard for new sewists. Here are some tips to keep your fabric right:
- Use fabric weights instead of pins to hold fabric in place
- Check alignment before cutting or sewing
- Iron fabric beforehand to remove wrinkles that might cause misalignment
Fixing Uneven Seams
Uneven seams can make your pillow cover look bad. To avoid this, try:
- Using a seam guide on your sewing machine
- Practicing consistent pressure while sewing
- Measuring and marking seam lines before stitching
“Precision in sewing comes with practice. Don’t get discouraged by initial imperfections.” – Professional Seamstress
Preventing Puckering
Fabric puckering can mess up your pillow cover’s finish. To fight this, do:
- Using the correct needle size for your fabric
- Adjusting thread tension
- Choosing appropriate stabilizers for delicate fabrics
Remember, getting better at sewing takes time. Every project helps you learn more. So, enjoy the learning journey!
Conclusion
Sewing a simple pillow cover in 10 minutes is a great skill. It makes your home look better with little effort. You’ve learned to make stylish cushion covers, even if you’re new to sewing.
This guide shows how easy and fun DIY home crafts can be. With simple tools and creativity, you can make your living space fresh. It’s a great way to improve your sewing skills.
Keep practicing to get better. Every pillow cover you make will help you grow. Try different fabrics and designs. Your sewing skills will let you make your home unique and create special gifts.
We hope this guide has encouraged you to start sewing. Begin your home decor journey with your sewing machine. It’s time to make beautiful, custom pillow covers!


6 Responses
Perfect piece of work you have done, this web site is really cool with great info .
Attractive section of content. I just stumbled upon your blog and in accession capital to assert that I acquire actually enjoyed account your blog posts. Any way I will be subscribing to your feeds and even I achievement you access consistently rapidly.
I really wanted to jot down a brief word in order to express gratitude to you for the unique tricks you are giving on this website. My incredibly long internet research has now been paid with useful knowledge to talk about with my visitors. I would mention that many of us site visitors are rather endowed to dwell in a remarkable community with very many special individuals with great tactics. I feel pretty happy to have used your weblog and look forward to so many more excellent minutes reading here. Thanks once again for a lot of things.
I love your writing style really enjoying this web site.
I’d always want to be update on new content on this website , saved to fav! .
Thank you. Glad you found it helpful. Check my Pinterest account too for more content at https://www.pinterest.com/abrandtblog/_saved/ and follow me for more new ideas!