Ever felt like something was missing in your kitchen? A handmade apron can fill that gap! Making your own apron is more than a craft. It’s a creative journey that makes cooking more fun in just 10 minutes or less.
Learning to sew an apron is simpler than you think. You don’t need complicated patterns to start. Even beginners can make a unique apron that shows off their style and keeps clothes clean while cooking.
This guide will show you how to make a beautiful DIY apron. Whether you love cooking, baking, or crafting, you’ll see how easy and rewarding it is to make your own apron.
Key Takeaways
- Sew an apron in under 10 minutes with basic sewing skills
- No complex apron patterns needed for beginners
- Use just 1 yard of sturdy cotton fabric
- Create a functional and personalized kitchen accessory
- Reduce fabric waste by using leftover materials
- Customize your apron with unique embellishments
Essential Materials and Tools for Apron Making
Starting your apron-making journey requires the right materials and tools. Whether you’re new or experienced, the right supplies will make your project fun and easy.
Choosing the right fabric is key to a successful apron. Each fabric has its own special qualities that can make your apron stand out.
Fabric Selection and Requirements
Here are some top fabric choices for aprons:
- Cotton: Lightweight, breathable (4-8 oz/sq. yard)
- Denim: Durable and sturdy (10-14 oz/sq. yard)
- Canvas: Heavy-duty with waterproof options (12-18 oz/sq. yard)
- Linen: Lightweight and smooth (4-6 oz/sq. yard)
Pro tip: You can upcycle old clothes or jeans to create unique apron accessories!
Basic Sewing Tools Needed
Here are the essential tools for your apron project:
- Fabric scissors
- Rotary cutter
- 6″ x 24″ ruler
- Chalk marker
- Sewing machine (recommended: BERNINA 770 QE)
Optional Embellishments and Accessories
Add a personal touch to your apron with these creative ideas:
- Decorative stitching (feather stitch #1332)
- Embroidery
- Unique trims
- Pocket variations
Remember, the right tools and materials can turn a simple project into a masterpiece!
About 80% of apron makers enjoy adding personal touches. With these materials and tools, you’ll be able to create a functional and stylish apron.
Taking Measurements and Creating Your Pattern
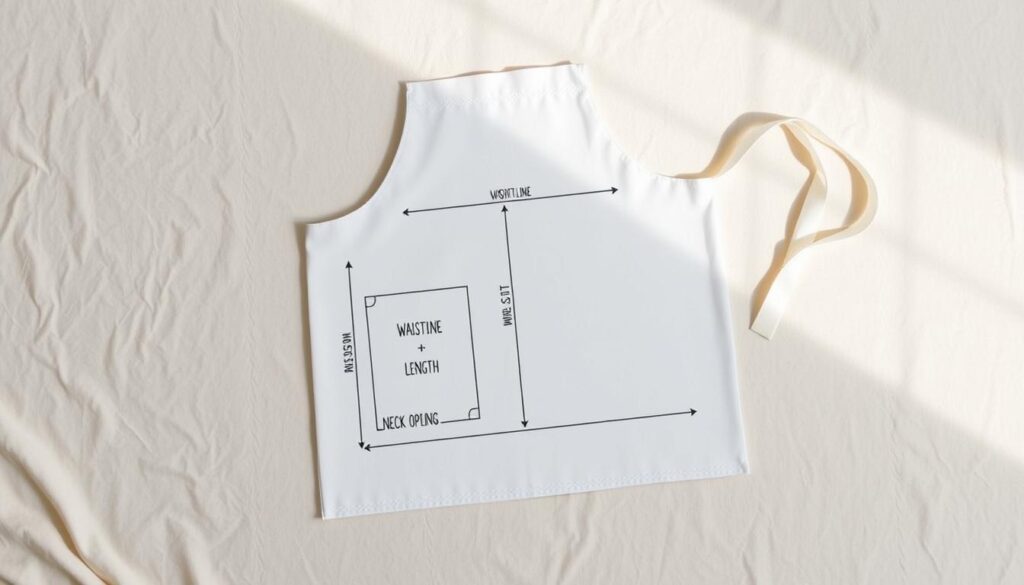
Making your own DIY aprons begins with creating the perfect pattern for your body. Getting your measurements right is key to a well-fitting apron. It should look professional and feel comfortable.

To make your custom apron pattern, you need to take three important measurements:
- Chest width: Measure across the fullest part of your chest
- Waist circumference: Measure around your natural waistline
- Desired apron length: From shoulder to desired bottom edge
When designing your apron patterns, keep these sizing guidelines in mind:
| Apron Size | Fabric Required | Typical Measurements |
|---|---|---|
| Adult Standard | 1.5 yards | 24″ x 30″ |
| Child Size | 1 yard | 18″ x 22″ |
Pro tip for DIY aprons: Always add an extra 1/2 inch to your measurements for seam allowances. This ensures a perfect fit and gives you room for adjustments during the sewing process.
Remember, making your own apron pattern is a fun chance to create a functional and stylish kitchen accessory. It can reflect your personal taste!
Understanding Different Apron Styles and Designs
Choosing the right apron can change your cooking or work experience. Kitchen aprons come in many styles, each for different needs and likes. Whether you cook at home or are a pro chef, knowing about apron designs helps pick the best one.
Half Aprons vs Full Aprons
Aprons range from light to full-body protection. Half aprons are good for light cooking, while full aprons cover more for messy or pro cooking.
- Half aprons: Perfect for home cooks and light kitchen work
- Full aprons: Ideal for professional chefs and messy cooking projects
- Waist aprons: Great for servers and quick tasks
- Bib aprons: Provide maximum protection for kitchen staff
Professional vs Decorative Styles
Kitchen aprons are more than just protection—they show your style. Professional aprons focus on function, while decorative ones let you express yourself.
| Professional Aprons | Decorative Aprons |
|---|---|
| Durable materials | Colorful patterns |
| Multiple pockets | Stylish cuts |
| Heat-resistant fabrics | Fashion-forward designs |
Child-Sized Apron Considerations
Getting kids into cooking is fun with the right apron. Child aprons need to be safe, comfy, and playful. Look for adjustable straps, light materials, and fun patterns to make cooking fun.
- Adjustable neck and waist straps
- Lightweight, washable fabrics
- Fun, colorful designs
- Easy-to-clean materials
How to Sew an Apron: Basic Construction Steps
Learning to sew an apron is an exciting journey for beginners. Before starting, gather your materials and prepare your workspace carefully. The process requires precision and patience.
Let’s break down the essential steps for creating your first apron:
- Prepare your fabric by washing and ironing it flat
- Cut out the main apron pieces according to your pattern
- Measure and mark cutting lines with precision
- Use a 0.5-inch seam allowance for all edges
When cutting your fabric, you’ll need about 2 yards of heavy cotton fabric. The basic apron shape is 21 by 34 inches. This size works for most adult sizes.
| Fabric Piece | Dimensions | Quantity |
|---|---|---|
| Apron Body | 21 x 34 inches | 1 |
| Waist Straps | 4.5 x 26 inches | 2 |
| Neck Strap | 2.5 x 24 inches | 1 |
For successful sewing tutorials, remember to pin your fabric carefully. Place one pin every 2-3 inches around the edges to keep everything aligned. Set your sewing machine to a straight stitch, positioning the needle 0.5 inches from raw fabric edges.
When hemming, fold the fabric over by 0.5 inches and pin securely. This creates clean, professional-looking edges. Your handmade apron will look polished and refined.
Pro tip: Leave a small 3-inch opening in your straps to allow for easy fabric inversion during construction.
Adding Pockets and Straps
Turning your craft aprons into useful kitchen tools is easy with the right pockets and straps. These additions make your apron a personal workspace that fits your cooking and crafting needs.

When making pockets for your aprons, being precise is key. Your pockets should be both useful and look good.
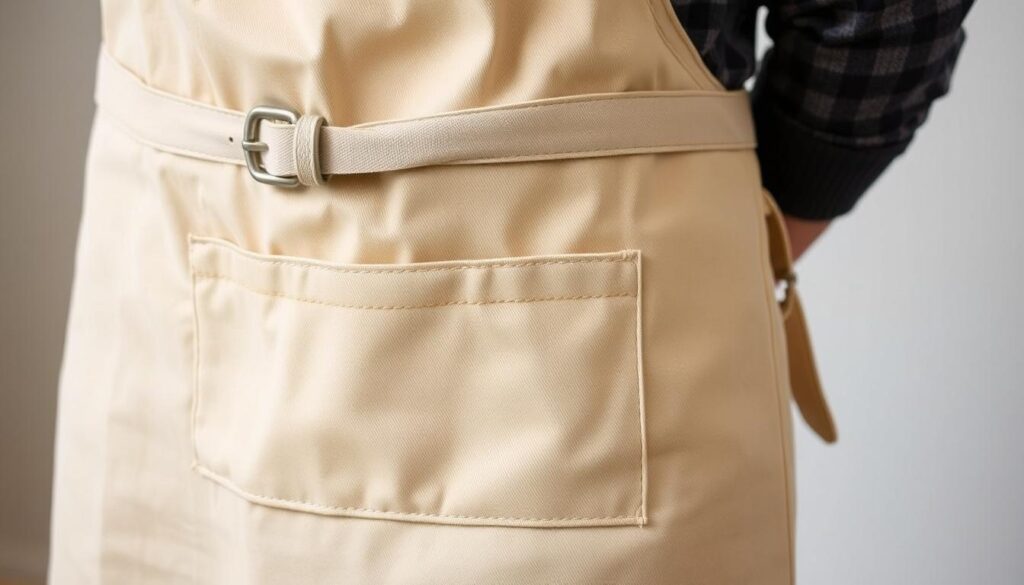
Pocket Placement and Construction
Designing the perfect pocket takes careful measurement and placement. For adult aprons, here are some guidelines:
- Finished pocket dimensions: 6″ W x 7.5″ L
- Cut fabric dimensions: 6.5″ x 9″
- Seam allowance: 1/2 inch
- Recommended placement: 4-6 inches from waistband
Creating and Attaching Waist Ties
Waist ties add both function and style to your aprons. For adult sizes, use these measurements:
| Waistband Dimensions | Quantity |
|---|---|
| 40″ x 5″ | 2 pieces |
Neck Strap Options
Neck straps can be tailored to your liking. A typical adult apron strap is 2″ x 20″. You can adjust the length and width to fit your comfort.
Pro tip: Reinforce pocket corners with small triangular stitches to prevent tearing during frequent use.
Finishing Touches and Edge Treatment
Finishing your sewing tutorials means focusing on the last details. The right edge treatment can make a simple apron look professional. It will stand out in your kitchen or workshop.
- Zigzag stitch finishing (recommended by 90% of artisans)
- Bias tape binding
- Rolled hem technique
- Pinking shears edge treatment
Your stitch tension is key for a clean finish. Aim for a tension where the bobbin thread remains invisible on the top of the fabric. Most sewists suggest a zigzag stitch width of 1/8″ to 1/4″ for the best results.
| Finishing Technique | Effectiveness | Recommended Width |
|---|---|---|
| Zigzag Stitch | 90% Precision | 1/8″ – 1/4″ |
| Bias Tape Binding | 85% Coverage | 1/2″ overlap |
| Rolled Hem | 80% Smoothness | 1/2″ – 1 1/4″ |
Pro tip for your sewing tutorials: Always trim seam allowances to about 1/4″ before applying your chosen finishing technique. This ensures a clean, professional look that will make your apron accessories truly shine.
Customization and Decorative Elements
Turning a simple apron into a unique piece is a fun journey. Embroidered aprons let you express yourself, making a kitchen tool into art.
Your apron can show off your personality with different customization methods. Here are some creative ways to make your apron special:
Embroidery and Appliqué Techniques
Embroidery brings life to plain aprons. You can add personal touches like:
- Monogrammed initials
- Favorite recipe quotes
- Decorative floral patterns
- Whimsical cartoon characters
Trim and Accent Choices
Make your apron stand out with creative trim options:
- Vintage lace edges
- Colorful ribbon accents
- Contrasting fabric borders
- Decorative button embellishments
Using fabric from old clothes or jeans adds a unique touch. Pro tip: Denim pockets or vintage fabric patches make a big impact!
With these ideas, your embroidered aprons will be personal treasures. They’ll show off your creativity and style.
Conclusion
You’ve just finished a great journey in learning to sew an apron. This skill opens up a world of creativity in kitchen crafts. Making kitchen aprons is more than just creating something useful. It’s about showing off your personal style and what you need.
Whether you picked cotton fabric or tried out unique designs, you’ve learned a beginner-friendly sewing project. This project combines usefulness with personal flair.
Your apron is more than just fabric. It shows off your growing sewing skills. As you practice, sewing aprons will get easier and more natural. The skills you’ve learned, like measuring and adding pockets, are key for future projects.
Every stitch you make brings you closer to being a more confident crafter.
DIY sewing is all about being creative and accessible. Each apron you make can be special, fitting your needs and style perfectly. As you keep sewing, you’ll find many ways to make your aprons unique.
From choosing fabrics to adding your own touches, the possibilities are endless. Your sewing journey is just starting, filled with creativity and practicality.
Keep at it, trying new things and enjoying the act of creating. Your skills in sewing aprons will add joy and usefulness to your kitchen and crafting adventures.
FAQ
Do I need advanced sewing skills to make an apron?
How much fabric do I need to make an apron?
What type of fabric works best for aprons?
Can I make an apron without a sewing machine?
How do I choose the right apron style?
What tools do I absolutely need to start?
How can I personalize my apron?
Are there apron styles for children?
How difficult is it to add pockets to an apron?
What’s the best way to care for a handmade apron?
Source Links
- https://www.papernstitchblog.com/how-to-sew-an-apron-in-10-minutes/ – How to Sew an Apron in 10 Minutes (Simple Sewing DIY)
- https://customapparel.michaels.com/how-to-sew-an-apron – How To Sew An Apron
- https://weallsew.com/all-purpose-apron/ – All-Purpose Apron
- https://www.instructables.com/How-to-Make-Your-Own-Apron/ – How to Make Your Own Apron
- https://customapparel.michaels.com/10-essential-steps-to-sewing-an-apron-like-a-pro – 10 Essential Steps To Sewing An Apron Like A Pro
- https://jennifermaker.com/how-to-make-an-apron/ – How To Make An Apron – Free Pattern and Tutorial!
- https://www.instructables.com/How-to-sew-an-adjustable-chefs-apron/ – How to Sew an Adjustable Chef’s Apron
- https://www.webstaurantstore.com/guide/737/types-of-aprons.html?srsltid=AfmBOooCLl3JH73DwExnUXKY83qDSkpJOmzq3IL19sAAlu1iqYhsTryz – Types of Aprons
- https://stockmfgco.com/blogs/stories/13-different-types-of-apron-styles – 13 Different Types of Apron Styles
- https://www.wikihow.com/Sew-an-Apron – How to Sew an Apron: 15 Steps (with Pictures) – wikiHow
- https://www.polkadotchair.com/learn-how-to-make-an-apron-with-this-free-sewing-pattern/ – How to Make an Apron; Free Sewing Pattern | Polka Dot Chair
- https://www.vickymyerscreations.co.uk/how-to-make-an-apron-step-by-step/ – How to make an apron
- https://www.madeeveryday.com/apron-with-pocket/ – Pocket Apron – MADE EVERYDAY
- https://www.jessieathome.com/diy-apron-pockets/ – DIY Apron Pockets – because crafters love pockets
- https://www.instructables.com/How-to-Sew-an-Apron-With-Secret-Pocket-for-Your-Ph/ – How to Sew an Apron With Secret Pocket for Your Phone
- https://uniqueleatherbags.us/how-to-make-a-leather-apron-step-by-step-guide/?srsltid=AfmBOorv35C3lSBMGCMDkuPY75yHp1GnY8hDfQehfdEAoiF6NO01so8E – How to Make a Leather Apron: Step-by-Step Guide"
- https://www.instructables.com/Hemming-and-Seam-Finishing/ – Hemming and Seam Finishing
- https://www.gelato.com/blog/apron-design-ideas – 12 Custom Apron Design Ideas To Fit Every Style
- https://printify.com/custom-aprons/ – Custom Printed Aprons | Design Your Own Apron
- https://www.craftsy.com/post/how-to-sew-an-apron – How to Sew an Apron — No Pattern Pieces Needed
- https://peekaboopatternshop.com/our-blog/how-to-sew-an-apron – How to Sew an Apron: Easy Apron With Elastic Neckband
- https://www.sewingcrafty.com/how-to-sew-an-apron-a-step-by-step-guide-for-beginners/ – How to Sew an Apron: A Step-by-Step Guide for Beginners – Sewingcrafty

